Django has a pretty good documentation page for enabling caching on the framework. It gives an overview of why caches are a good idea, when to use them, and the various configuration options to make your backend play nice with Django. However, of the four backends mentioned in the docs (memcached, database, filesystem, local-memory), Redis is not listed as an option. This is surprising as Redis is a key-value store that works very well as a cache server and compares favorably to memcached.
Here’s a little guide to get up and running with Redis to remedy this omission on the django docs.
Redis Features
Redis also has a lot of features that memcached is lacking:
- persistence: Redis has persistence configured by default. If your cache server gets restarted, you don’t lose all of your data.
- robust data structures: memcached can only handle strings & serialized objects. Redis has strings, sets, lists, hashes, and sorted sets.
- replication: it’s a one line configuration setting to enable master-slave replication in Redis.
Installing Redis
You’ll first want to install Redis on your local machine, I’m on a Mac, so I’ve included notes on how to setup your system with OS X. You can also find the installation instructions directly on the Redis website if you are on another OS.
If your machine is on Mac OS X 10.9 (Mavericks), make sure to install xcode developer tools so you have access to gcc. Luckily, Apple has made this easy and can be installed with a one-liner from the command line:
$ xcode-select --install
If you are on an older OS X version, refer to this Stack Overflow post to get developer tools installed. Once that’s squared away, here are the steps to install Redis 2.8.3 (latest stable release as of this post):
$ mkdir -p ~/sysinfra/redis
$ cd ~/sysinfra/redis
$ curl -O http://download.redis.io/releases/redis-2.8.3.tar.gz
$ tar xzf redis-2.8.3.tar.gz
$ cd redis-2.8.3
$ make
You’ll see a lot of compiler output. After it finishes, it recommends you to run make test to ensure that the install was successful. Let’s do that, but make sure to do this with sudo as you’ll get errors when Redis tries to check for memory leaks on separate processes. Here’s the command:
$ sudo make test
If everything worked, you’ll see something like this:
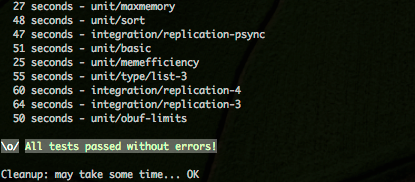
If so, you’re good to go! Let’s get the Redis server up and running:
$ src/redis-server
Which should look like this:
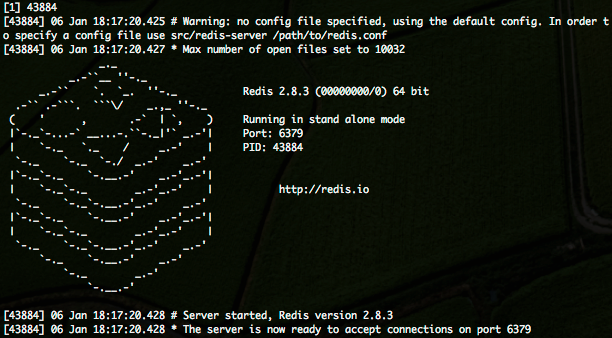
Props to antirez for the awesome use of ascii art. Also, a note that in a production environment, we’d want to use a process control system (like supervisor) and not run the server in the foreground. For the purposes of learning, it will be helpful to monitor what is going on with the server.
Django bindings
Redis is installed, running, and ready to cache stuff. But how do we get our django application to communicate with the Redis server? If you look into the official django docs, you’ll see a full writeup for memcached, here’s what that setup looks like in your settings.py:
CACHES = {
    'default': {
        'BACKEND': 'django.core.cache.backends.memcached.MemcachedCache',
        'LOCATION': '127.0.0.1:11211',
    }
}
This is super straightforward. We just choose the memchached backend that is included in django’s core package and specify a location that the memcached server is running. With Redis, we’ll need to first install the backend bindings and then configure the cache in a similar manner.
The paradox of choice
The two major projects that provide Redis bindings to django are:
It can be a little hard to distinguish between the two libraries. They both have similar github metrics:

vs.

Not sure which to choose, I decided to conduct a “scientific” poll on the #django IRC channel, here are the results:

Pretty inconclusive. Digging deeper, it turns out that django-redis actually began as a fork of django-redis-cache. If you dig into the source code you’ll see that a lot of the core classes are still very similar. Also, django-redis still installs to the same “redis_cache” namespace as django-redis-cache. This means if you were ever to install both packages, you’d end up with a namespace clash. This has been raised as an issue and the author has acknowledged the problem.
My recommendation is to go with django-redis-cache. It is the original library and has more community involvement. Additionally, there are contributions on the repository from jezdez and carljm, two devs I highly respect.
Installation
Use pip to install the package (preferably into a virtualenv):
$ pip install django-redis-cache
This will automatically pull and install the redis python package as it is a dependency.
While you’re at it, you should also install the hiredis parser. This is the most efficient library for parsing the data coming back from the Redis server.
$ pip install hiredis
Configuration
We’re now ready to configure django to use Redis. As a simple configuration you can add this to your settings.py:
CACHES = {
    'default': {
        'BACKEND': 'redis_cache.RedisCache',
        'LOCATION': '127.0.0.1:6379',
        'OPTIONS': {
            'DB': 0,
            'PASSWORD': '',
            'PARSER_CLASS': 'redis.connection.HiredisParser'
        },
    },
}
Let’s quickly break that down. The django-redis-cache package installs under the “redis_cache” namespace. Here, we are setting up our “default” cache to use our django-redis-cache backend, and the server is located on localhost at 127.0.0.1:6379. Redis allows for multiple databases per server and defines this with a zero-based numeric index. The Redis default database is always 0, and we are setting our configuration to match that with 'DB': 0. We didn’t set a password on the Redis server so we keep that configured as an empty string.
Testing the cache
Now that we have the Redis server running and django is configured to talk to it. Let’s test this out and set some cache values. To do this, let’s use the django shell management command.
$ cd to/your/django/project
$ python manage.py shell
Python 2.7.5 (default, Nov  6 2013, 00:00:21)
[GCC 4.2.1 Compatible Apple LLVM 5.0 (clang-500.2.79)] on darwin
Type "help", "copyright", "credits" or "license" for more information.
(InteractiveConsole)
>>>>
From here we should be able to set some items to cache:
>>> from django.core.cache import cache
>>> cache.set('life_universe_everything', '42')
True
>>> cache.get('life_universe_everything')
'42'
The default TTL for django cache items is 300 seconds. So if you wait five minutes and try to get our value from the cache again. Here’s what happens:
>>> cache.get('life_universe_everything')
>>>
The cache has expired and the backend returns None. You can change the TTL by passing an optional timeout to the set method like so:
>>> cache.set('life_universe_everything', '42', 3600)
True
That call would cache the “life_universe_everything” key for 3600 seconds – one hour.
Closing it out
That’s pretty much all you need to get started with Redis and django. You can now cache expensive calculations very easily in your view/model code. This can have a major impact to the response times on your site.
This post has focused mostly on getting a Redis server up and functional, but it has only scratched the surface of what you can do with the cache. The testing examples above use the low level cache API. However, you can also make use of full site caching, per-view caching, and cached sessions.
Also, if you are really curious on how the cache is implemented, you can read my post analyzing cache records.
Happy caching!